TABLE OF CONTENTS
CLASS
General
In classrooms there is a desktop computer, monitor and regular speakers. The monitor and projector/TV display the same image.
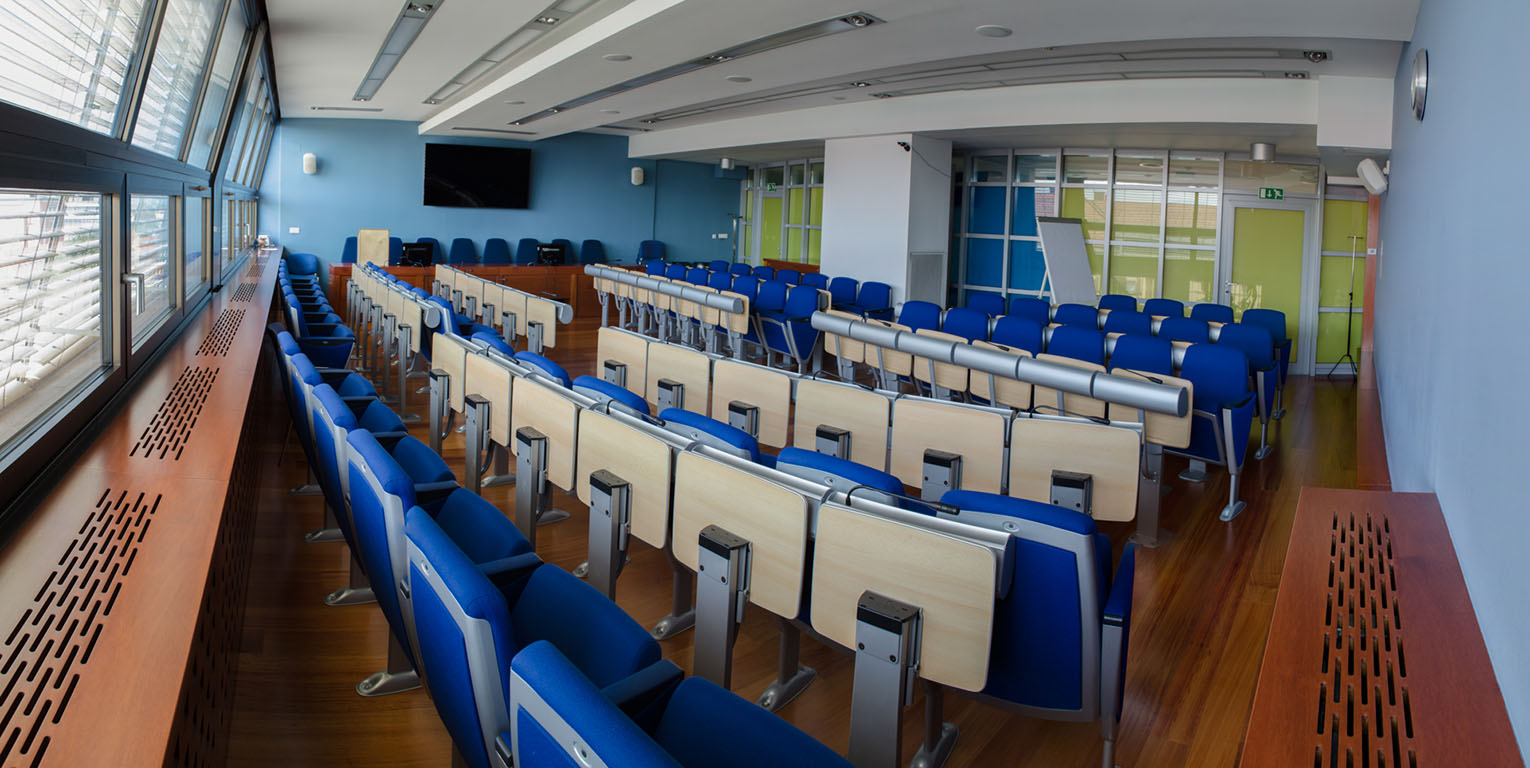
In the Blue room there is a webcam for video calls.
The classroom Rimljanka (R30) has a bad wireless connection.
Computer classrooms:
Classroom 013 has 20 student computers
Classroom 011 has 15 student computers
Classroom 04 has 14 student computers
Do NOT tamper with the equipment. If you change computer settings you are obligated to set them back as they were!
Audio and video
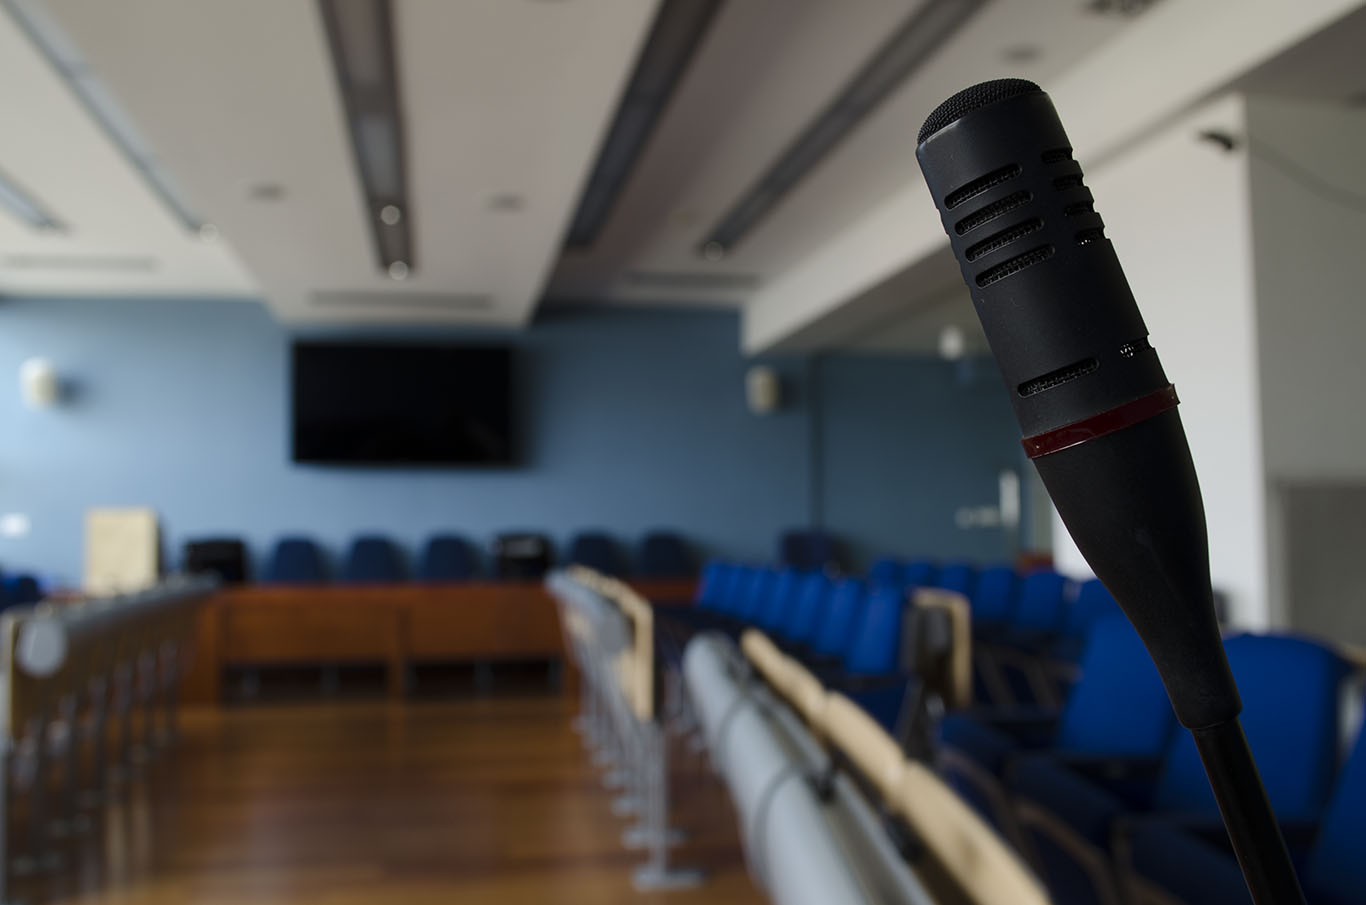
In case of trouble with the projector, sound, microphones or other audio/video equipment please contact Gašper.
Refit
The refit is done during the summer. This is also the time when additional software can be installed. To do so, contact IT in due course. You will provide the software and the license if the software requires it.
Contact:
Any changes made outside of the refit schedule are troublesome due to classroom occupancy. It is our suggestion that the changes be made during your lecture.
Self help
If no image is displayed on the computer monitor, projector or TV screen, check that the power is on.
If the computer does not respond, press and hold the power button until the computer turns off. Then turn the computer back on.
If the projector or the TV screen does not display the image, but the image is displayed on the computer monitor, select the correct signal source with the remote control.
For assistance call 051-440-130 or send an e-mail to prijavanapak@ff.uni-lj.si
Immediate response is not guaranteed due to other obligations. The problem will always be solved as soon as possible.
Connecting the laptop
StarTech
In the classrooms there is a switch, located in the upper part of the computer rack, that allows laptop connection via the HDMI port.
If the laptop is older and does not have HDMI, you can buy an adapter, but there is no guarantee that it will work.
The HDMI cable that you connect to the laptop is located in the classroom. Classrooms with the projector also have an audio cable. Connect the audio cable to the headphone jack on the laptop.
Please, do not change the cable connections or plug them into places they don’t belong!
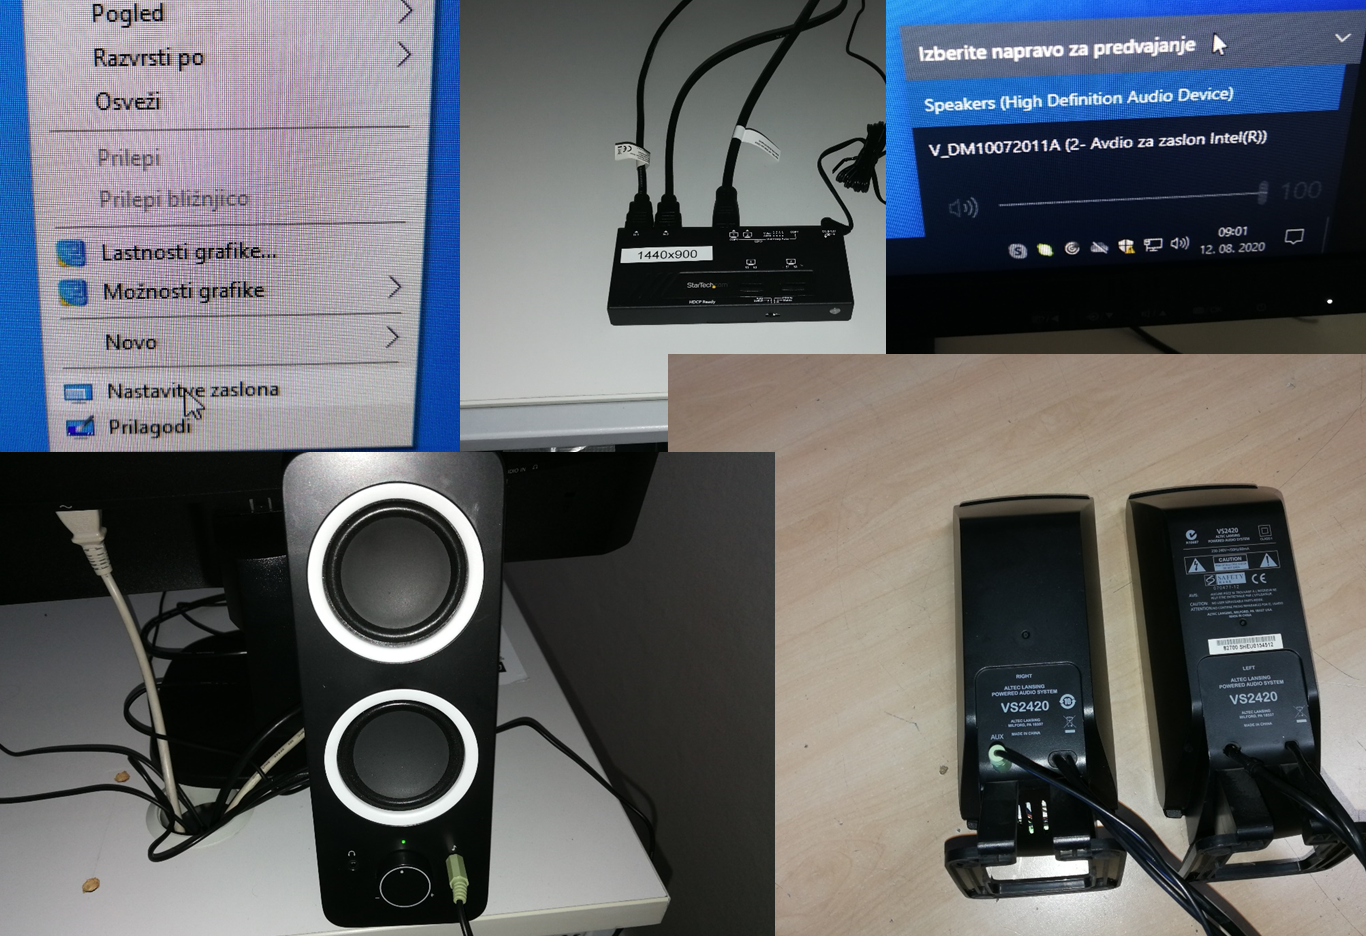
Classroom with the projector
Device playback: Speakers
Classroom with TV
Device playback: V_DM10072011A
The projectors differ from classroom to classroom. Their image resolution also varies. The optimal image resolution is marked on the switch. It is recommended to set this resolution on the laptop while it is connected to the switch.
The resolution setting of the projector must stay as set!
In the same menu, where you set the desktop resolution for the laptop, you can also chose to either mirror or extend the screens. If you are not familiar with either use mirror.
The switch automatically detects the connection and displays the image from the laptop on the projector or TV screen.
To change between the laptop and the computer in the classroom, press the left button on the switch.
34, 18, 15, 2
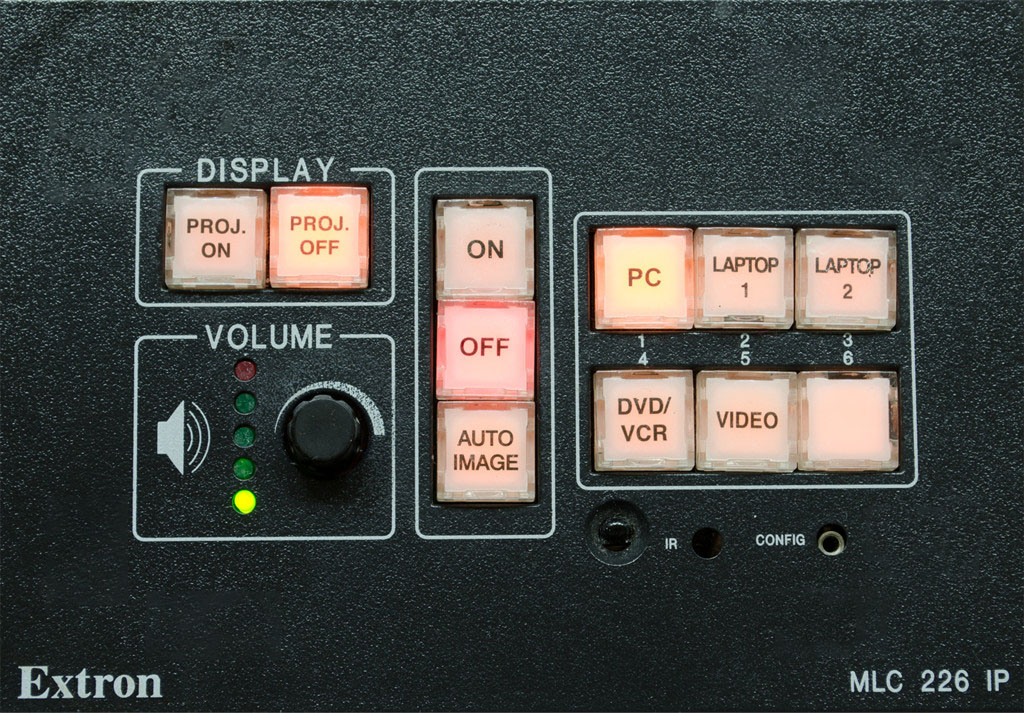
The projector is turned on using the Extron control panel on the teacher’s desk.
Button ON turns on the system.
Button OFF turns off the system.
Button PROJ ON turns on the projector.
Button PROJ OFF turns off the projector.
Button PC sets the signal source to the computer in the classroom.
Button LAPTOP 1 and LAPTOP 2 sets the signal source to the laptop computer.
Turn on the system and the projector first. If you use the computer in the classroom, select PC as the source.
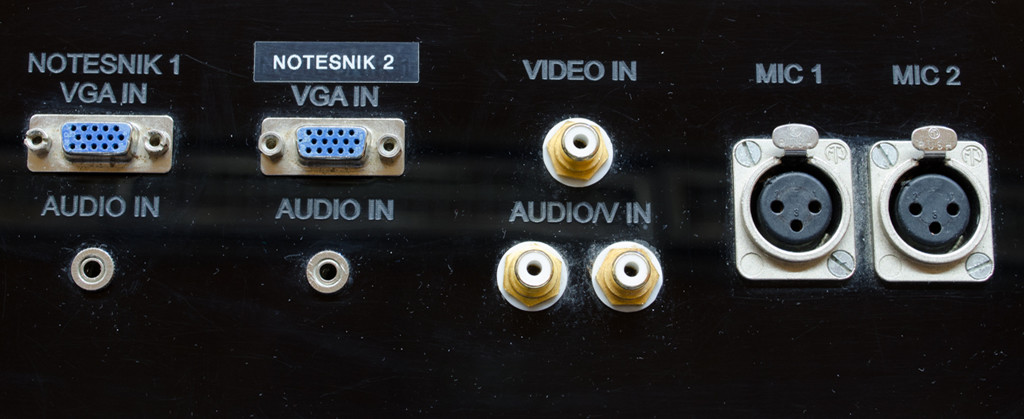
If you are using the laptop computer, select the source to which the laptop is connected with the VGA cable. If you want the laptop to transmit sound as well; use the audio cable and connect it to the AUDIO IN under the same VGA port.
030
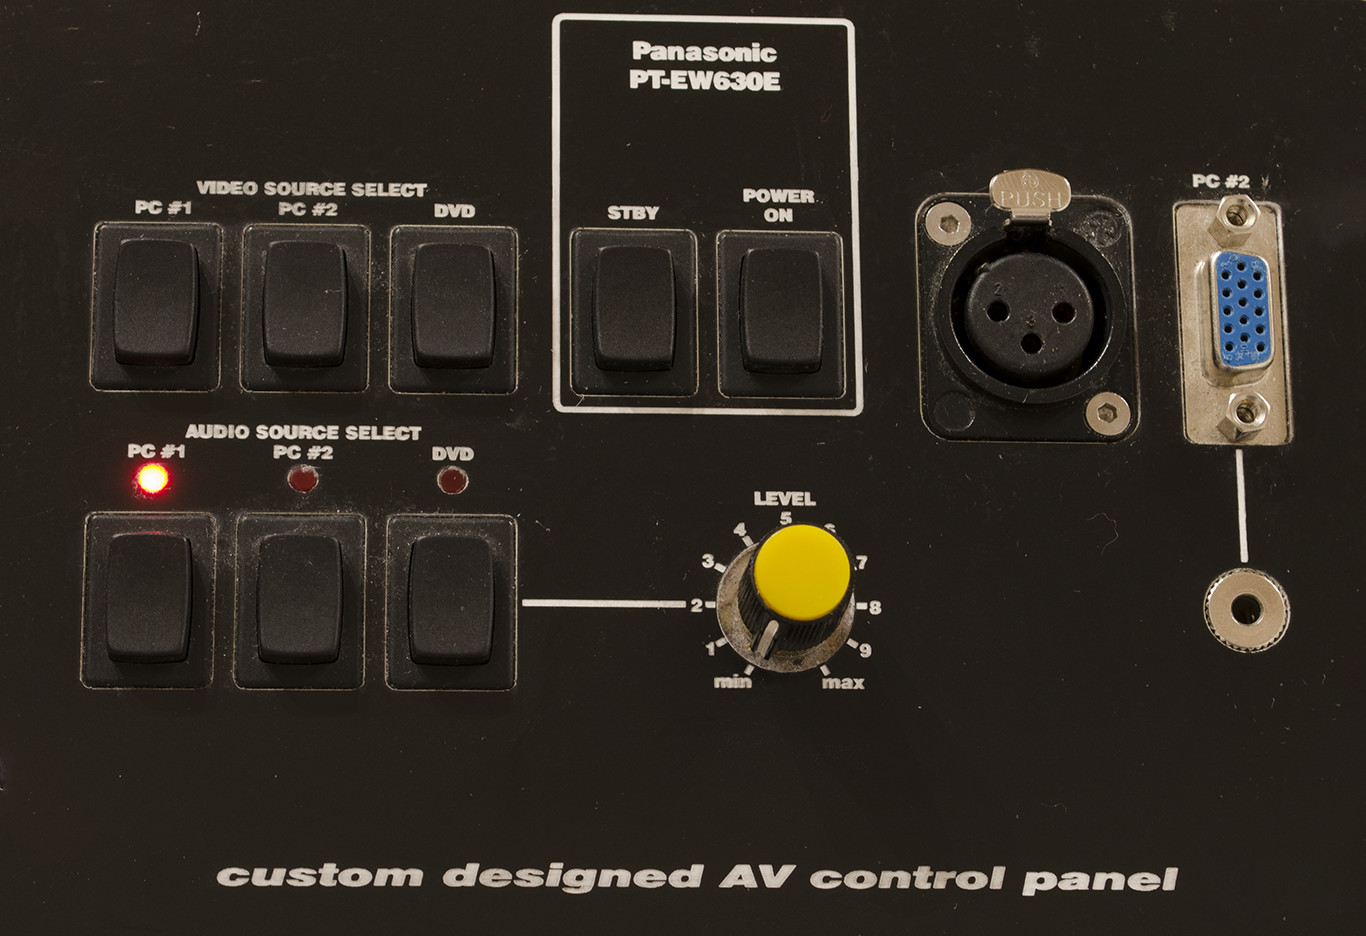
Button ON turns on the projector.
Button STBY turns off the projector (has to be pressed twice).
Turn on the projector first. When using the computer in the classroom, select PC 1 for VIDEO SOURCE and AUDIO SOURCE.
If you are using the laptop computer, select PC 2 as source. Before doing so, connect the laptop to the control panel using the VGA cable. If you want the laptop to transmit sound as well, use the audio cable and connect it to the audio jack under the VGA connector.
Blue room
You can either use the computer in the room or a laptop computer. The computer in the room is located on the top of the rack. There should be a wireless mouse and keyboard on the front desk.
The laptop computer can be connected to one of the ports under the front desk (4 ports) or to one of the ports on the seats (4 ports), using the VGA cable. Port 5 is reserved.
System startup
At the bottom of the rack there are three buttons with a yellow sticker next to each of them. These buttons are used to turn on the system. The buttons are pressed in the following order
- system
- amplifier
- TV
Now you can turn on the computer. Please do not touch any other components.
Signal source
In the middle of the rack there is a component with which the signal source and destination are selected.
The buttons 1 to 8 below INPUTS are used to select the signal source.
The buttons 1 and 2 below OUTPUTS serve to select the signal destinations. 1 is the TV, 2 are the monitors on the front desk.
The ENTER button is used to confirm the selection.
SOURCE is the number of the port to which the laptop is connected. For OUTPUT press buttons 1 and 2 and then ENTER.
If the laptop is connected to port 6, press
6 ➤ 1 ➤ 2 ➤ ENTER
To return to the computer in the room
5 ➤ 1 ➤ 2 ➤ ENTER
Port 5 is used by the computer in the room.
Once done
Turn off the computer. Turn off the rest by pressing
- TV
- amplifier
- system


